
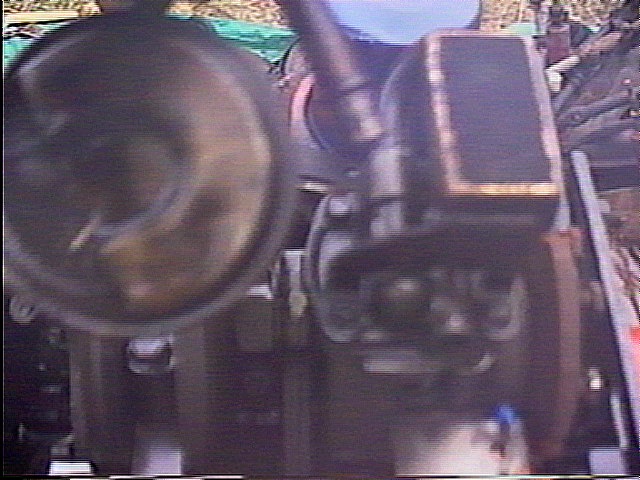
Engine and transmission as I bought them
I decided to put a V8 in the car. Although hi-po 4-cylinder (like the Pontiac Super Duty 4) and 6-cylinder (Buick turbo) options were intriguing, the good old Chevy 350 Small Block was easier and ultimately more upgradable. I bought a used 350 and TH350 transmission; they were originally in a 1974 Chevelle (not too powerful) but were rebuilt with some decent performance parts.
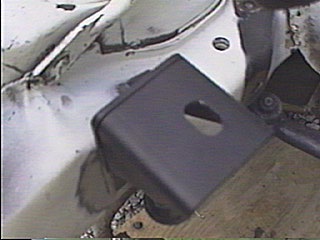
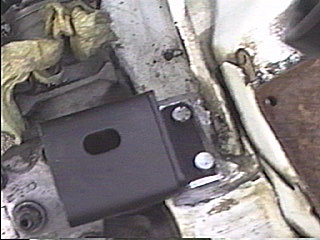
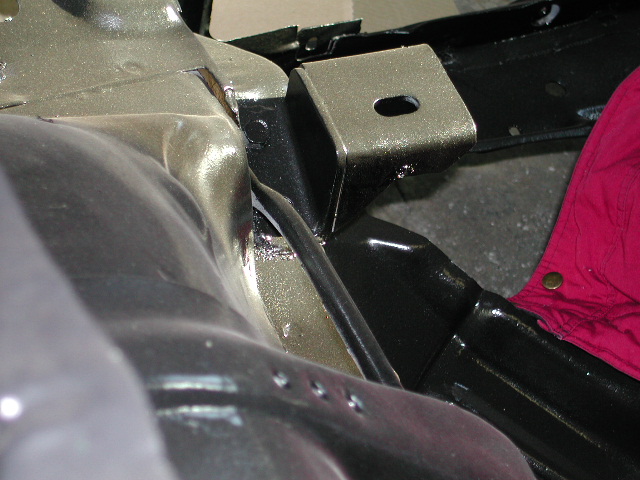
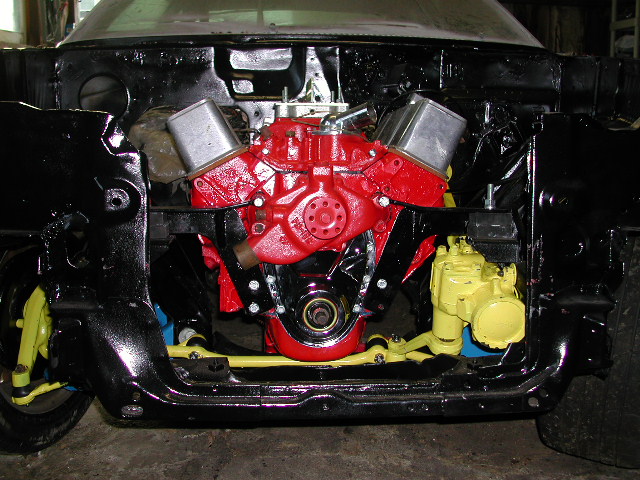
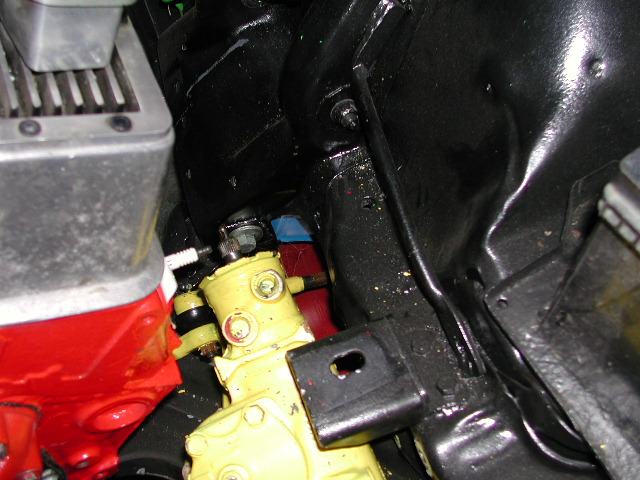
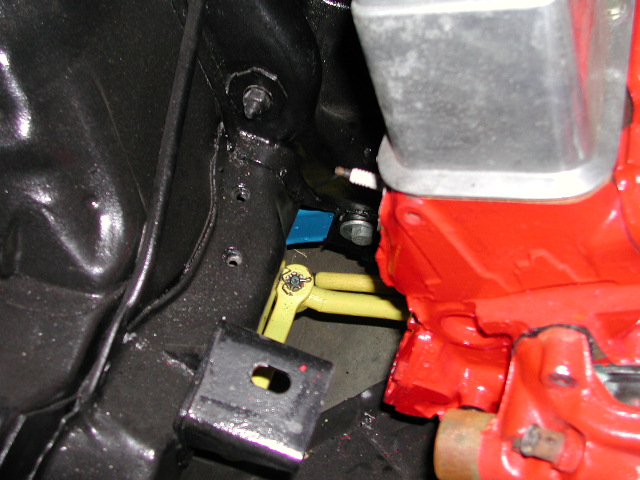
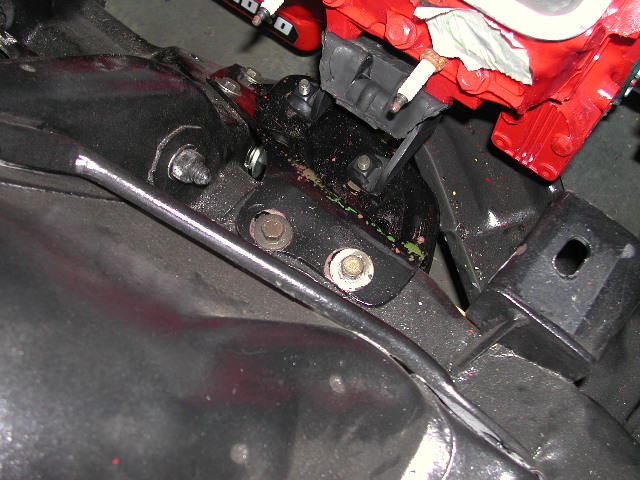
To mount the engine, I used Hooker front mounts (part number 12608) designed for this swap. There are frame and engine mounts for each side. The passenger side frame mount bolts up where the idler arm does and then must be welded, and the driver side frame mount which is screwed into the frame rail then welded. The third picture shows the left mount again. I had to cut a bit out of it so it would fit around the steering box--otherwise it interfered. The engine mounts attach to the front of the engine where the water pump mounts and in threaded holes on the lower part of the engine. On most engines you'll need to drill and tap the two holes on the driver's side. These pictures show the mounts before welding. In the engine compartment pictures in the "prep" section, you can see them welded in place.
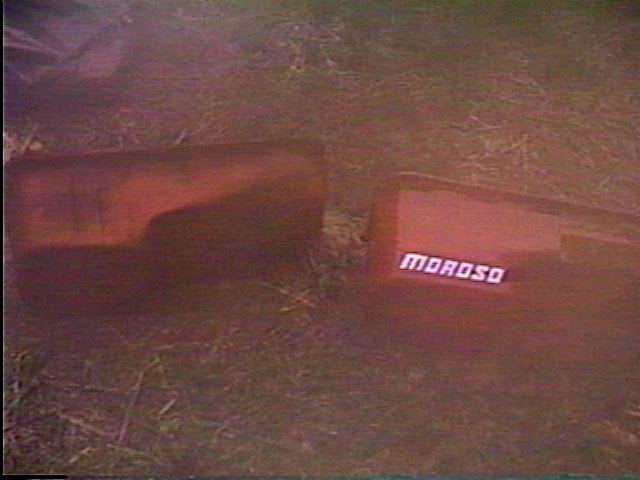
The engine needed a new oil pan that has been modified to not interfere with the steering linkage. I bought a Moroso pan (part number 20230) that you can compare with the original in a poor picture below (very humid day). I also needed a new oil pickup (Moroso part number 24170) that you can compare with the original in another poor picture below. I'm holding the original pickup on the left and the new one is attached to the pump on the right.
I don't know much about engines. I didn't mess with this one too much except to replace the oil pan and paint it. Ditto with the transmission.

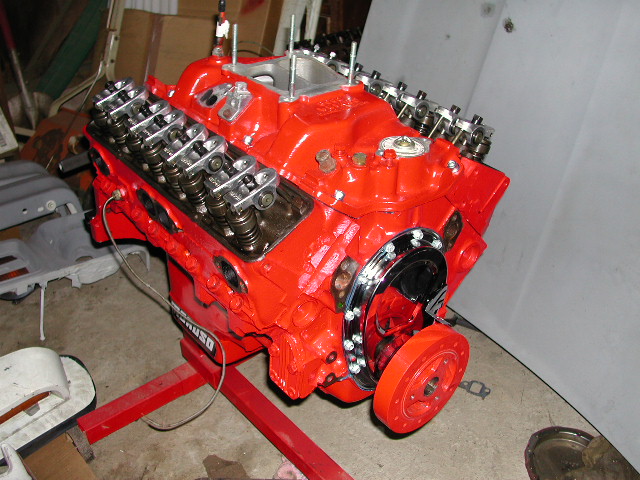
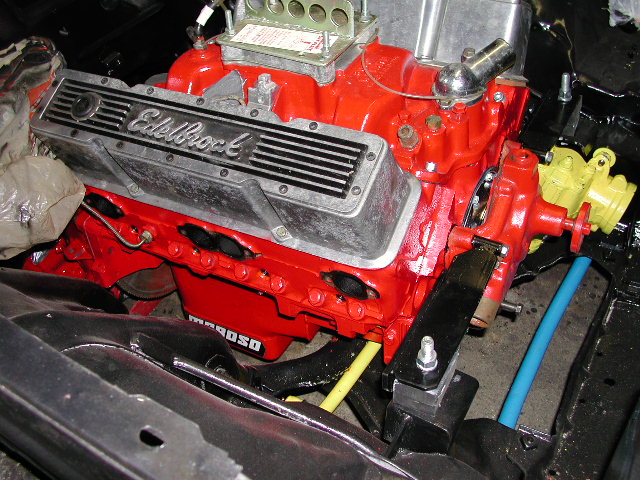
Time to put the engine and transmission in the car. First I had to put them together, then maneuver them into the body, then bolt up the engine to its mounts and the transmission to its mounts.
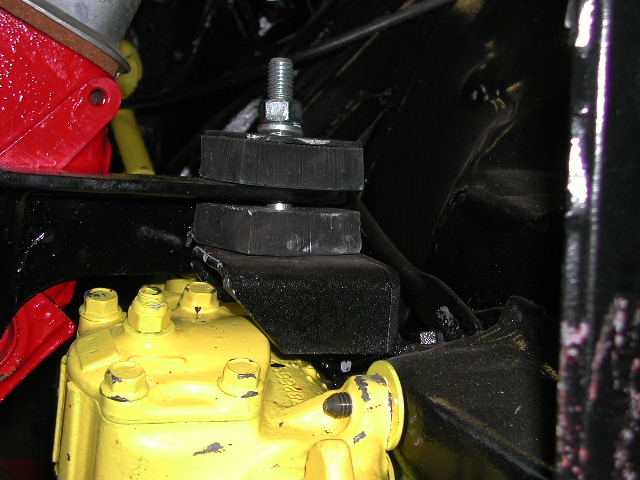
We have a problem. The oil pan is resting on the K-member and steering relay rod. I guess Moroso and Hooker don't communicate too much? So instead of using the rubber mount bushings the "right" way (see above picture), I doubled them up to raise the engine a bit.


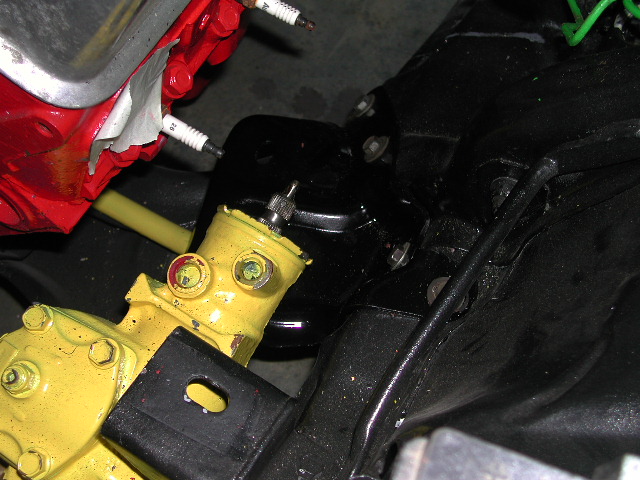
Here's the transmission crossmember from the 4-cylinder/TH200 combination. I can use it with the 350/350 combination because Chevy put extra mounting holes in the unibody--they used the same body regardless of drivetrain combination. All I have to do is bolt it to the rear set of holes. In the crossmember and mount I used Camaro polyurethane bushings from Energy Suspension (part 3-1109). They fit fine. The other item in the picture in the torque arm mount, discussed in the suspension section.
I also need to get a new driveshaft, or shorten the old one. I got a used V8 Monza driveshaft from HBOA club member Ken Mahoy. The Hooker kit places the engine in the same spot as the factory V8 mounts so factory V8 driveshafts and torque arms still work.
I tried to test-fit the Hooker 2129 headers. The compromises for them seemed like a lot of work (reroute brake lines, make hole in inner fender, lose power steering and power brakes possibly, lose low-end torque on my mild motor, etc). After seeing the ground clearance, I decided these were not the headers for me.
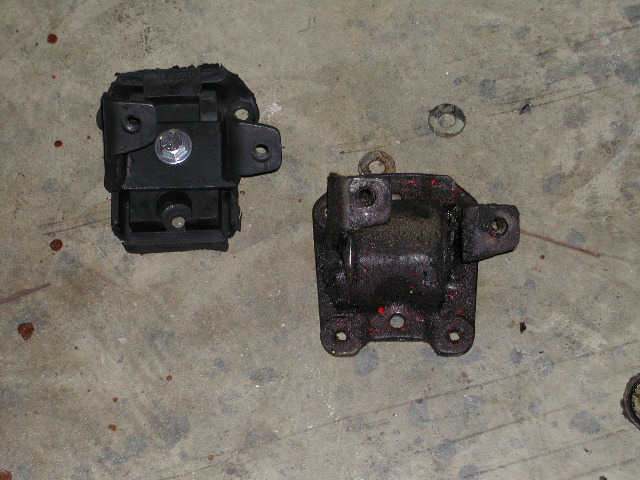
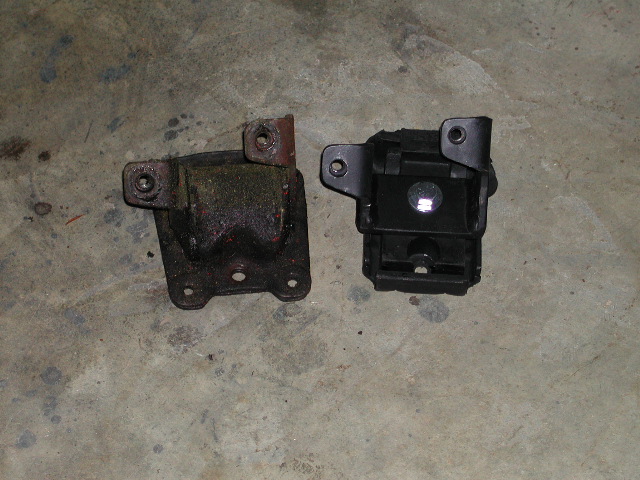
So I decided to go with milder headers. This meant I could lose those front engine mounts and use OEM-style mounts, so I did. First, I bought a set of frame brackets from GMHBody club member b_daddyz, since my car never had them.

For the engine mounts, I used new mounts from Bob Gumm's v8monza.com. His mounts are a new design that fit exactly where the OEM mounts fit, but they use readily-available replacement rubber inserts. I now have a comfortable gap between the bottom of the oil pan and the steering relay rod.

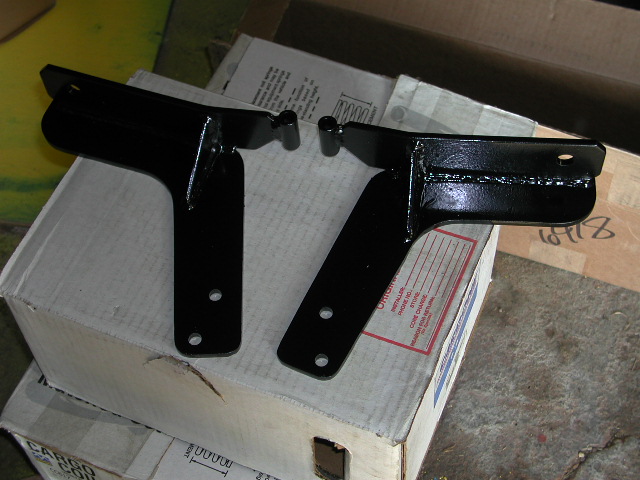
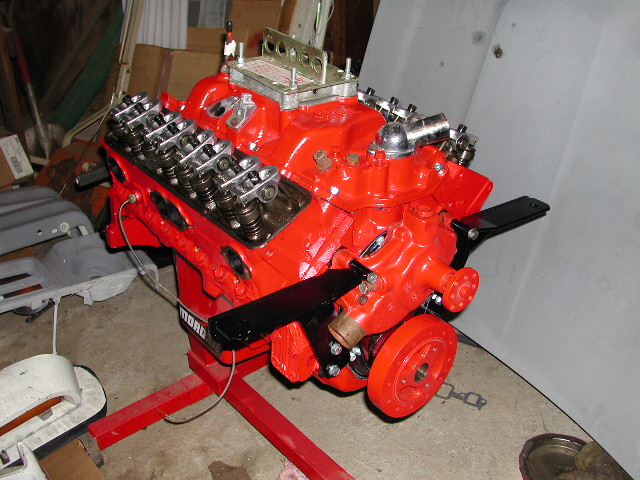
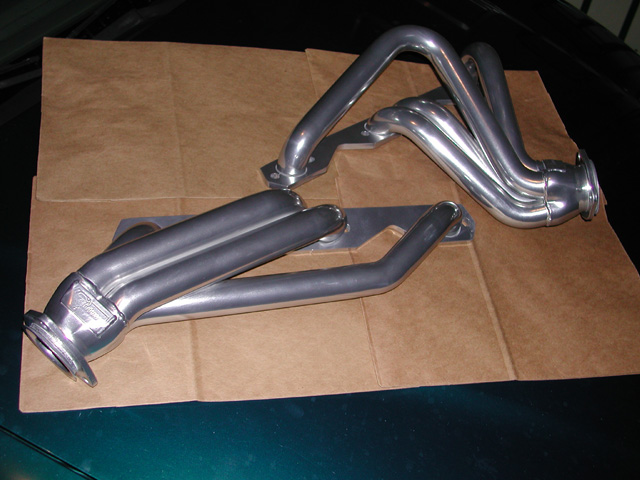
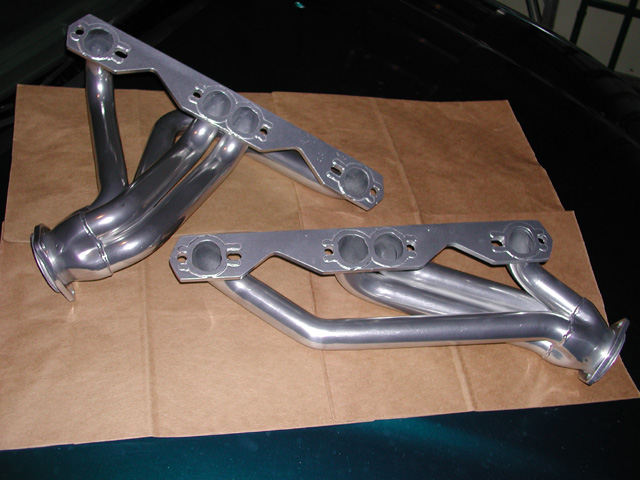
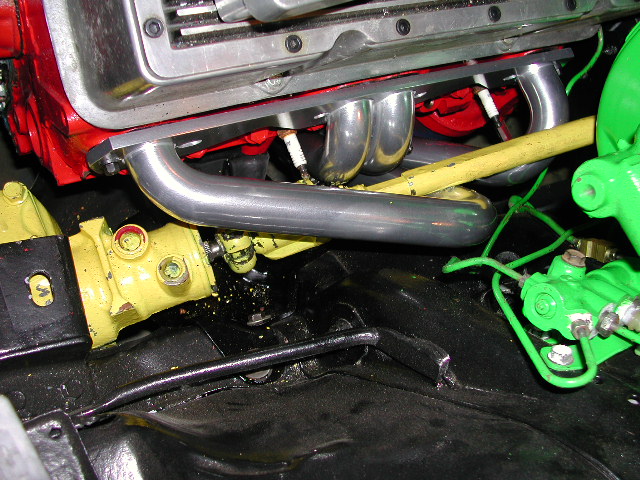
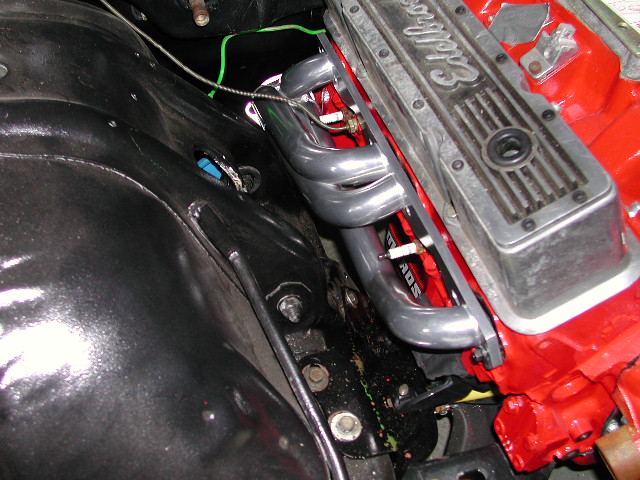
The headers I chose are the Sanderson headers, also sold by v8monza.com. First, here are some pictures of the headers uninstalled.

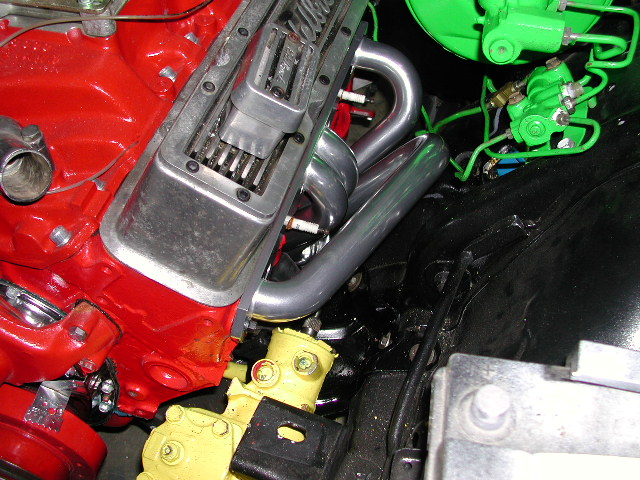
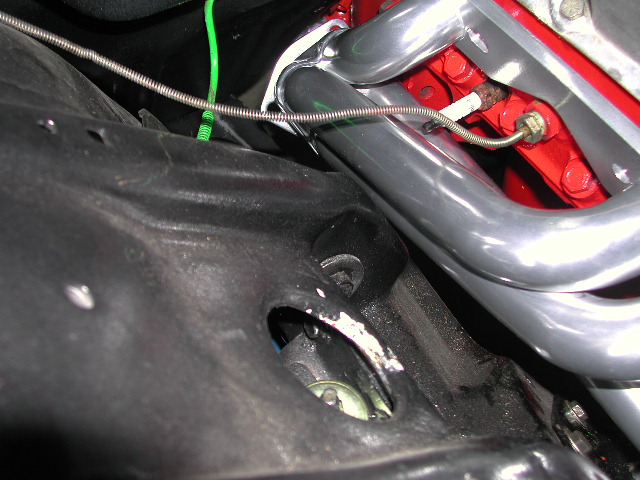
They look great, but they require the steering shaft be removed and then routed through one tube of the headers on the driver's side. I hope this never turns into a problem. Spark plug access also looks tough but that's a given on any V8 Monza.

On to Fuel system